
There aren’t many women who don’t add at least some enhancements to their appearance in order to look as beautiful as possible. For many women, having long and luscious eyelashes is important to looking and feeling attractive. If you’re not one of the many women born with eyelashes that are the perfect length and thickness, then you’re likely considering eyelash extensions.
If your natural lashes are curly, you might wonder how to attach fake eyelashes to curly lashes. Here is a full overview so you can expertly attach your own lash extensions and look absolutely amazing.
Choosing the Proper Fake Lashes
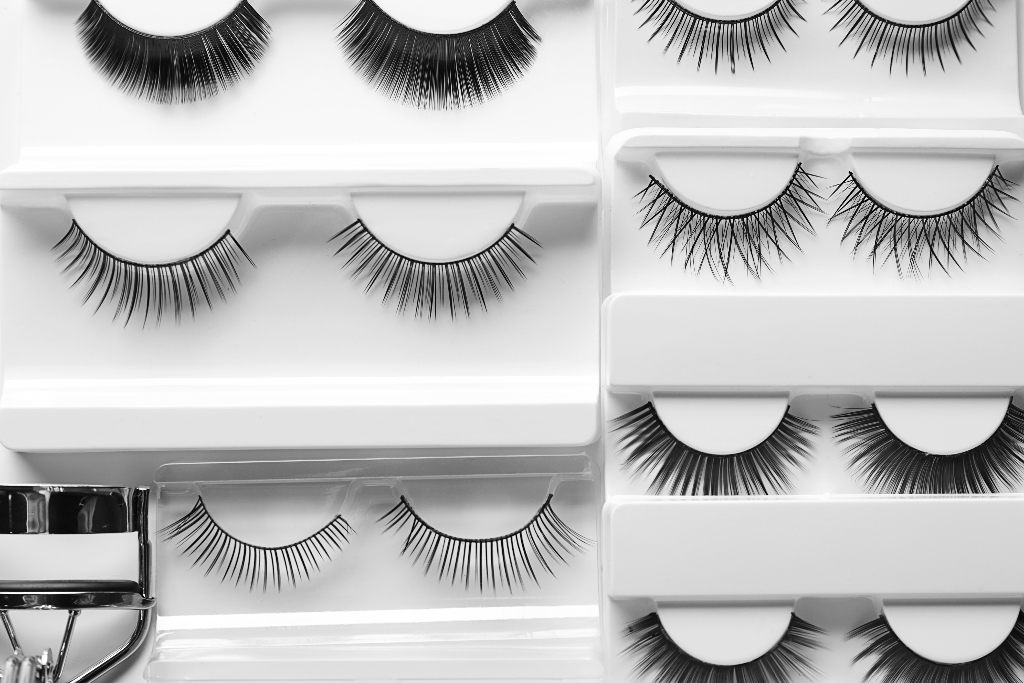
With so many lash extensions currently on the market, it can be difficult to find the kind that you feel will best meet your needs. Additionally, in order to achieve the most natural look, it’s essential to choose the best fake lashes according to how your natural lashes grow. If you fail to choose the proper fake eyelashes that will pair best with your natural lashes, then you can end up with lash extensions that make you look more ridiculous than beautiful.
Since your natural lashes are curly, then you will need to choose fake eyelashes that will accentuate your natural lashes, so be sure to take your time doing your research in advance. There are several different styles of extensions that will go perfectly with curly natural lashes, so you will definitely have your pick.
Locating the best tweezers
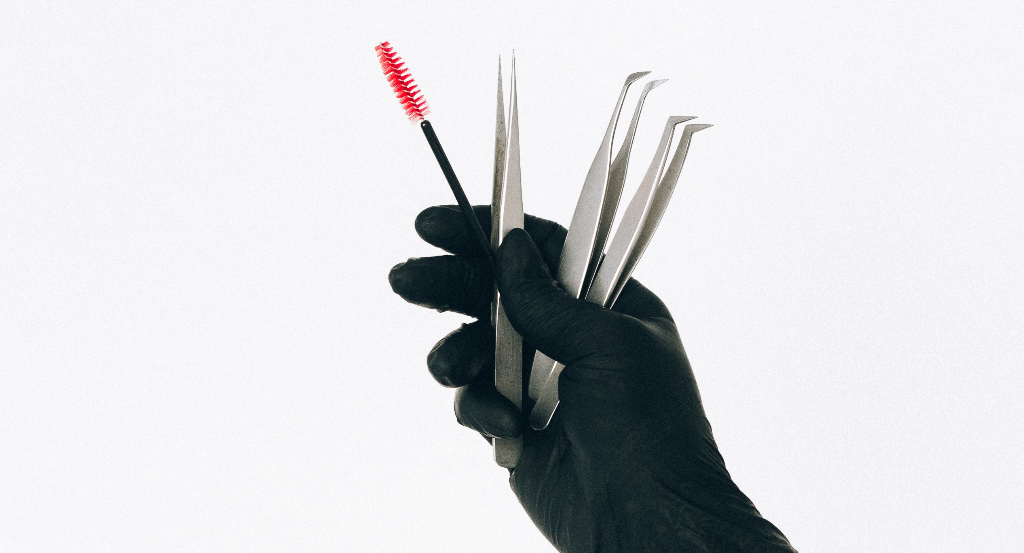
When you have curly lashes and you’re going to be applying eyelash extensions, it is imperative that you have the right tools. This is actually true even if your natural lashes aren’t curly. Isolatation lash tweezers will help you isolate your natural lashes and make it easier to apply the extensions.The tweezers that you will use for attaching the extensions aren’t one-size-fits-all, so be sure to choose a pair that is specifically for your type of lashes.
While on your quest for the perfect pair of tweezers, you will come across curved, straight, and even L-shaped choices. It wouldn’t be a bad idea to invest in them all, if possible, because you will use different tweezers depending on the type of lash extensions you opt for. Since this may change each time you need to reapply your fake eyelashes, it’s best to have the various types of tweezers on-hand.
Finding the right adhesive
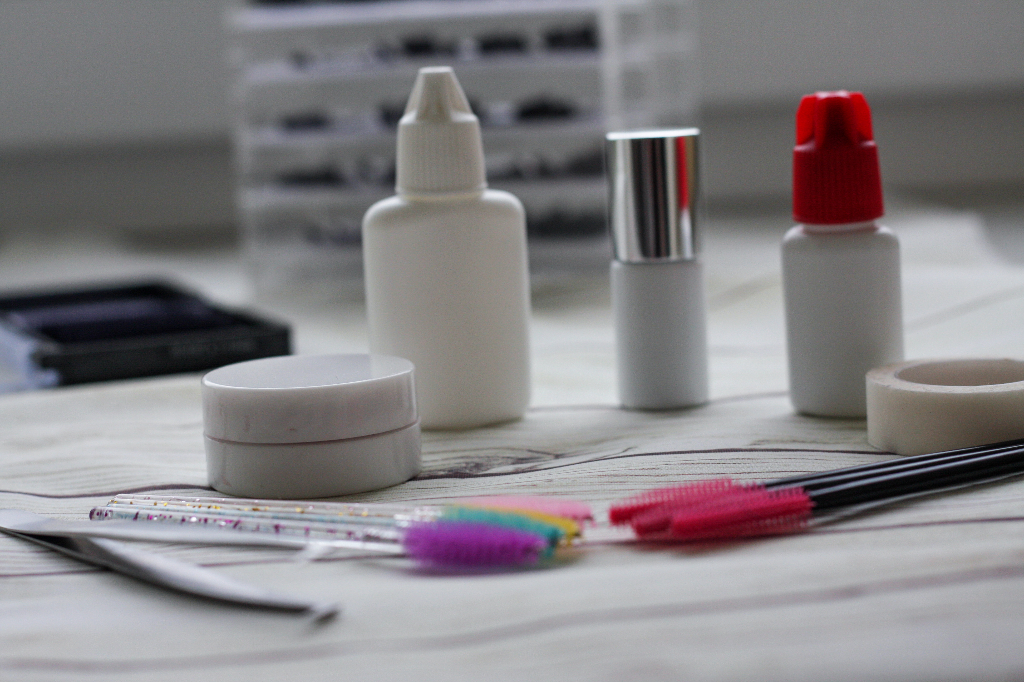
Once you’ve chosen the most appropriate pair (or pairs) of tweezers to apply your lashes, you need to ensure that you have the best adhesive. Just like when choosing eyelash extensions, you will notice that there are numerous types of adhesives available for attaching your extensions, but don’t simply grab the first choice that you come across. Some lash glue contains chemicals and other ingredients that are potentially harmful to you.
These adhesives can cause eye irritation, redness, and swelling, especially for sensitive individuals. If you’re not sure which glue to opt for, don’t be afraid to ask store clerks for recommendations. You can also do some research online that will help you identify which adhesive might be best for you.
Obtaining All the Necessary Tools
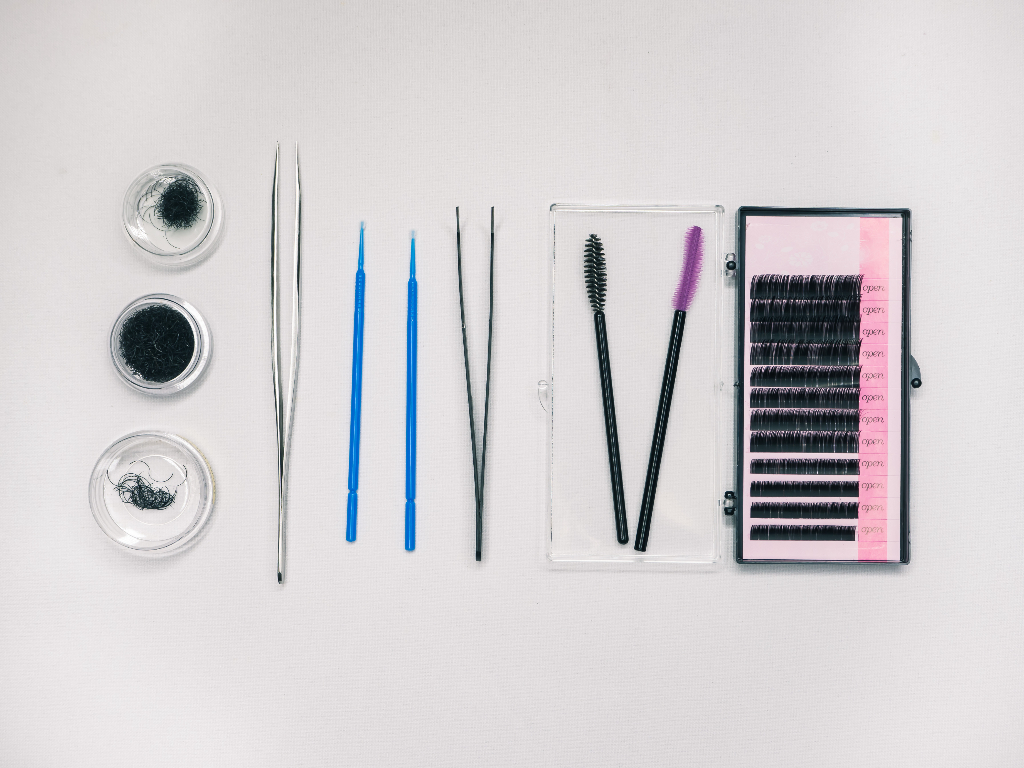
In addition to tweezers, adhesive, and the eyelash extensions, some other items that you will need in order to attach your own eyelash extensions are:
- A magnifying mirror with light
- Various disposable eyelash brushes
- A jade or crystal stone, for placing your adhesive when you’re not using
- Disposable eyelash glue stickers
- Eyelash extension tape
- Primer
- Eyelash adhesive removed
- Eyepads and eye patches
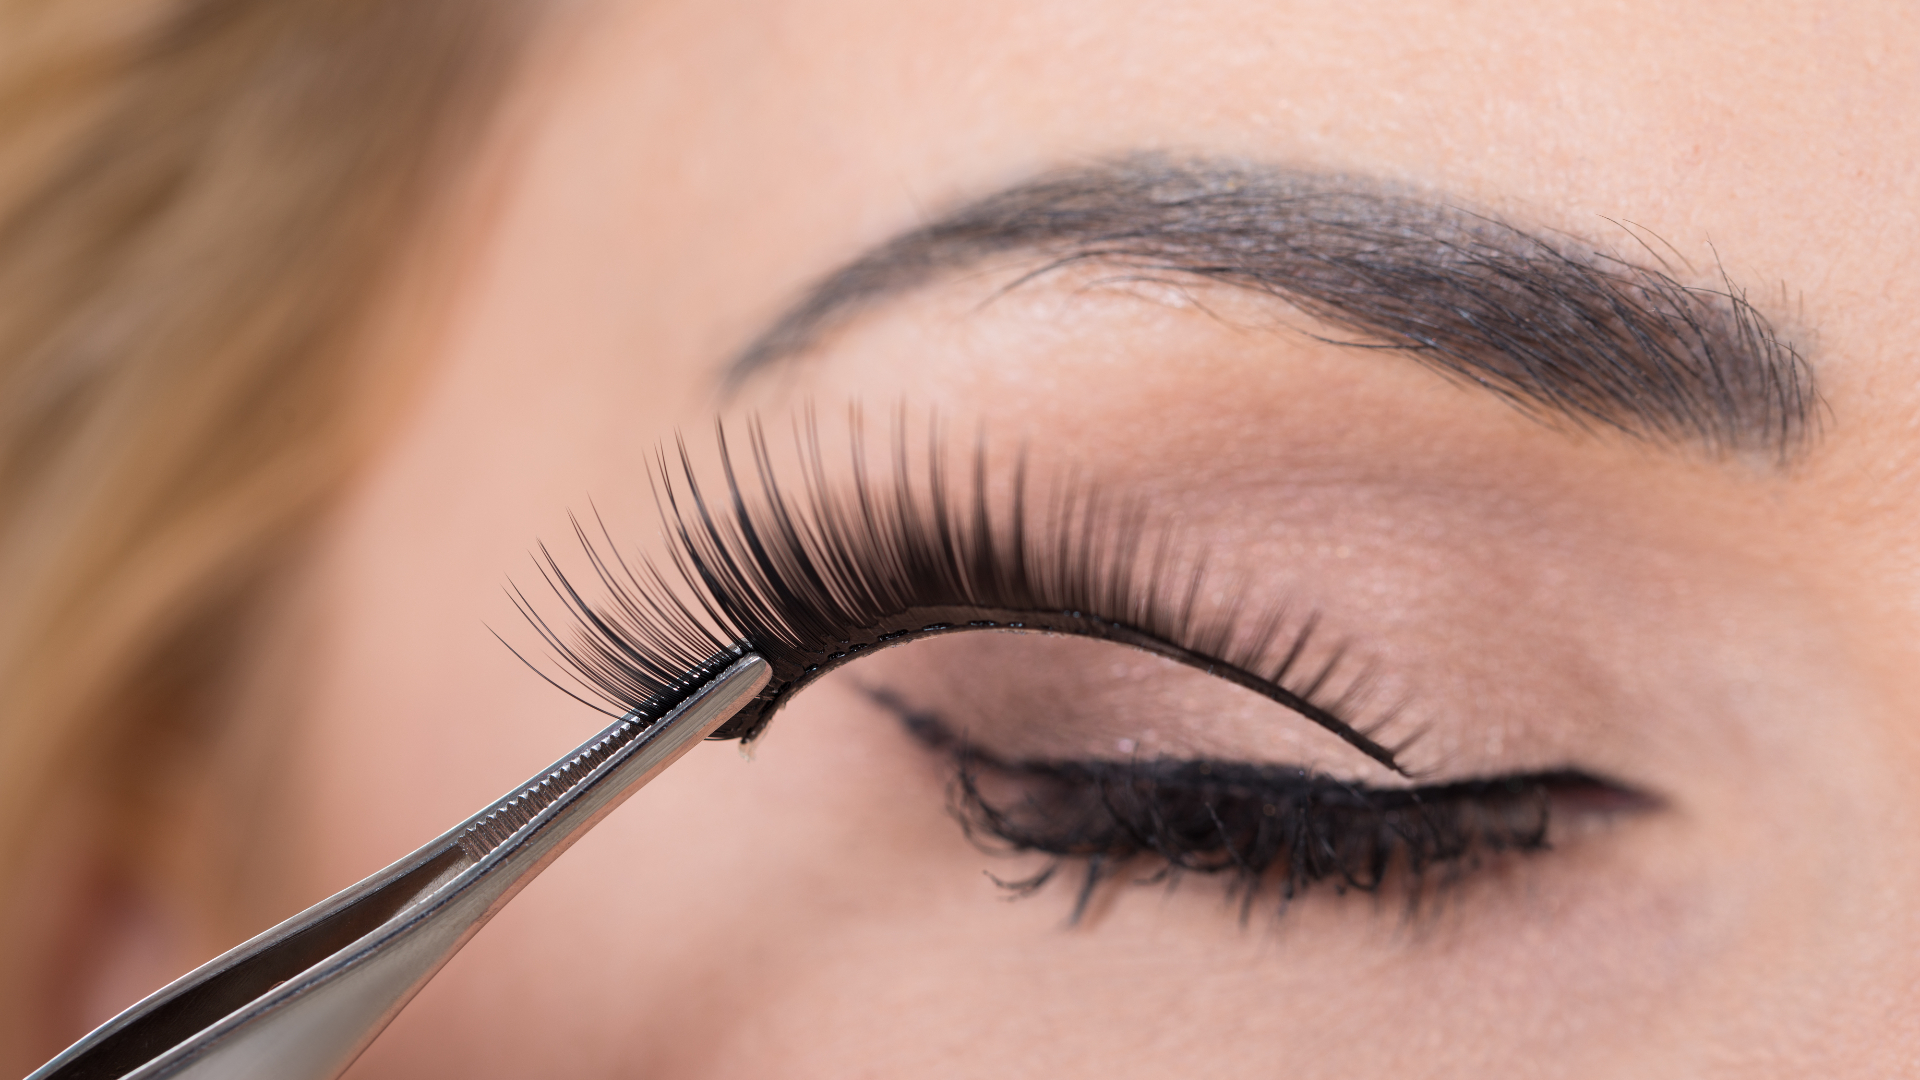
Attaching Your Fake Lashes
Now that you have all the tools you need, it’s time to attach your lash extensions. If you’ve never attached your own extensions before, you might want to search the internet for some instructional videos. Sometimes, actually seeing something done can make it seem a lot easier. Here are the steps to attaching your fake eyelashes to your naturally curly lashes:
1. Start out with clean hands (and eyelashes), as you don’t want any oil or debris present that could cause your adhesive to fail to stick properly. Nothing could be worse than having your eyelashes fall off at the most inopportune time.
2. Apply primer to your natural lashes. Primer helps to prepare your lashes for the adhesive, and it helps it to stick better.
3. Carefully apply undereye patches, which cover the lower lashes during application.
4. Use your isolation tweezers along with another pair of tweezers to carefully separate and isolate your natural lashes.
5. Use a pair of tweezers to carefully pick up an eyelash extension and dip it in glue. Apply glue to your natural lashes, as well.
6. Using both pairs of tweezers (isolation and the other most appropriate pair), choose the area of your natural lashes to attach the extension to and carefully attach the extension to the specific area of your natural lashes.
7. Continue the steps of dipping the extensions in glue and applying glue to the natural lashes until you’ve finished both eyes. Be sure you’re not using too much glue.
8. Be sure that you’re careful to cover your natural lashes completely, but make sure that no multiple clumps of extensions or natural lashes are sticking together. Use the tweezers to carefully separate them, if necessary.
9. The last step is to allow them to dry, and voila! You should look and feel like a new woman.
Conclusion
Applying your own eyelash extensions to your naturally curly lashes might seem scary and intimidating in the beginning, but once you’ve done it a few times, you will quickly become a pro and feel more and more comfortable. Once you’re comfortable applying one type of fake eyelashes, you can start experimenting with other types that might be a bit more challenging to apply. Hopefully, your DIY eyelash extensions will turn out great, and you will look and feel amazing.