
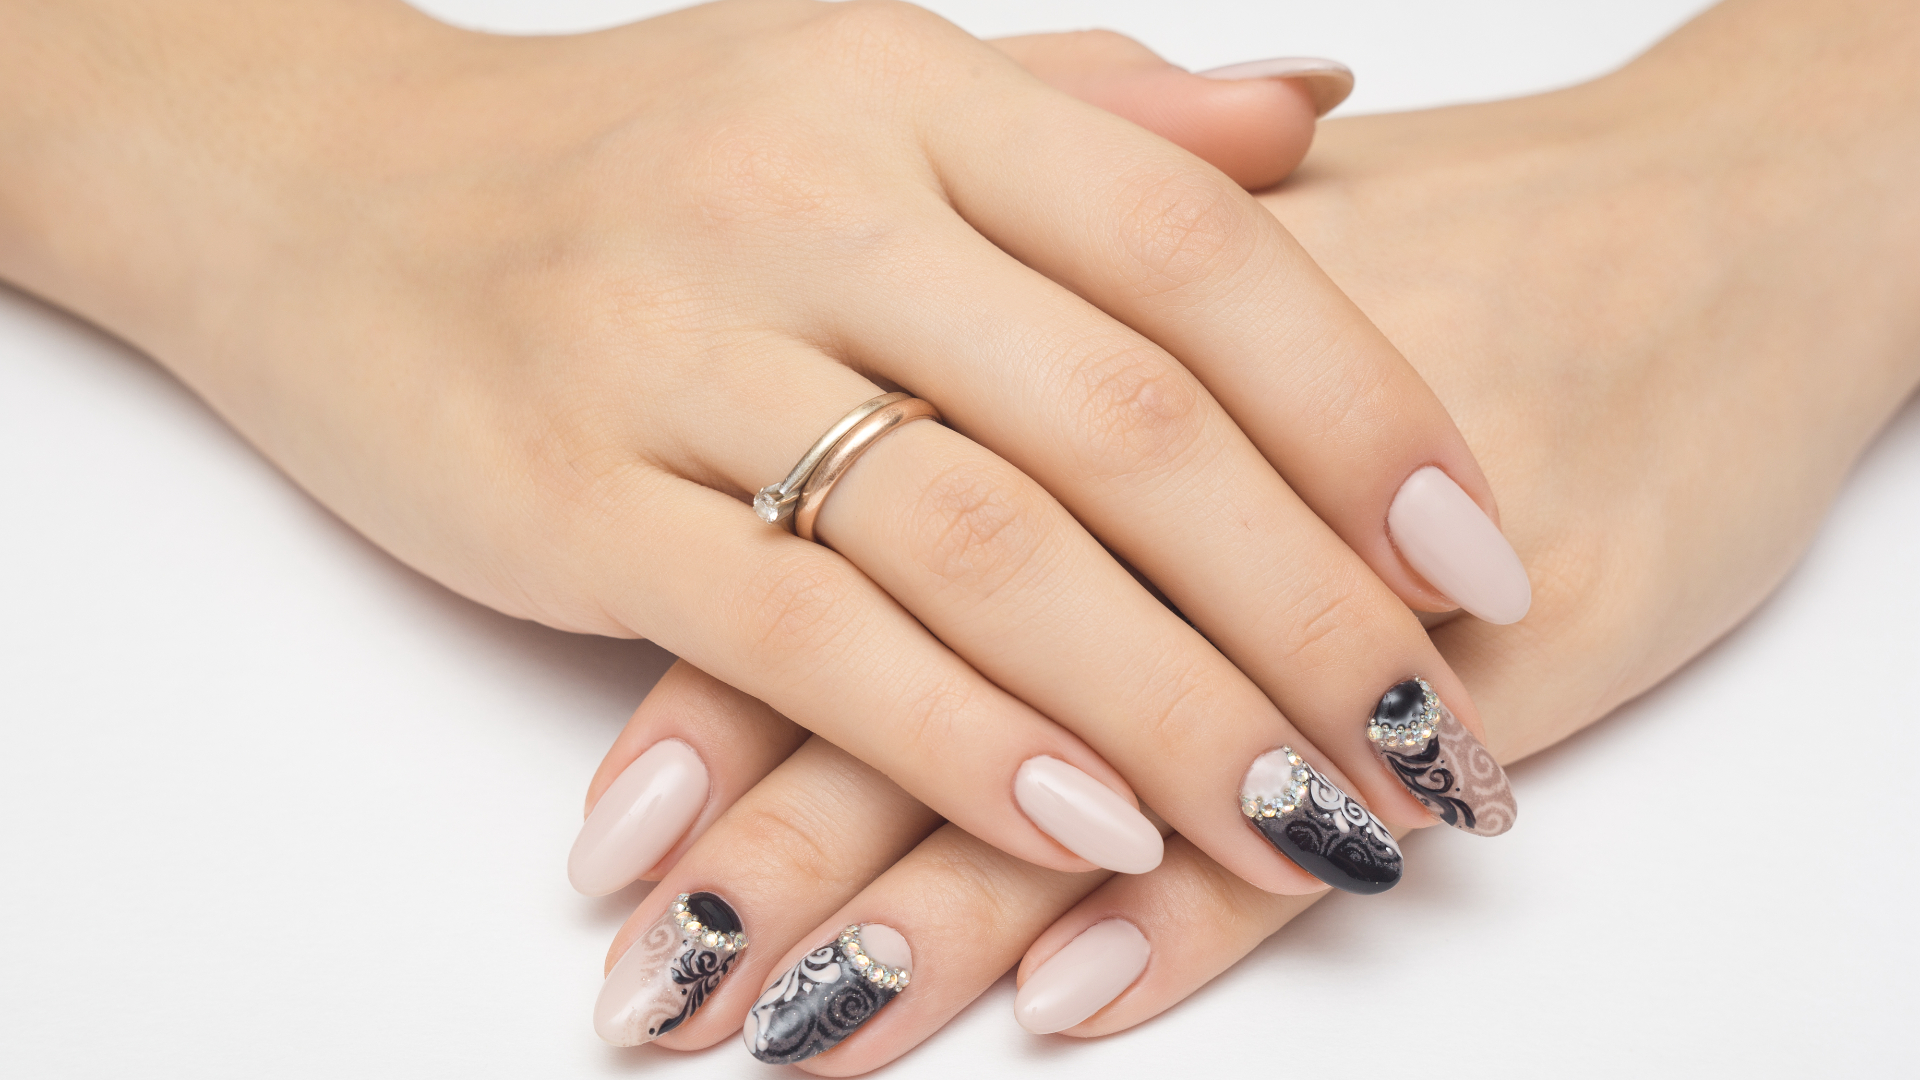
There are so many nail options to choose from these days. Acrylic and gel nails have been around for awhile, but now polygel is coming to the forefront. It creates a strong, flexible, light nail that is considered preferable to acrylic or gel nails.
If you are new to the trend, you may be wondering how to remove polygel nails. The good news is, there are a few simple ways to get the job done, without damaging your natural nails.
How to Remove Polygel Nails
There are a few ways to remove polygel nails. You can soak the nails in acetone or oil. You can also file the polygel away with an e file or standard nail file.
Let’s take a closer look at each of these methods, step by step.
Removing Polygel With Acetone
I have a love hate relationship with acetone. It’s effective for removing basically any type of nail polish or finish, including polygel. However, it can be drying to the nails, and you may find the scent offensive.
Step 1: Prepping the Nail
First, you’ll want to cut any extra length from your nails. This helps prevent the nails from becoming damaged. Next, you’ll need to file away the topcoat. This allows the acetone to do its work.
Step 2: Apply the Acetone
The easiest way to do this is to soak cotton balls in acetone. Then, place a cotton ball on each nail. You can then attach it with nail clips, or wrap them with aluminum foil. Let the cotton balls sit on your nails for at least 10 minutes.
Step 3: Removal
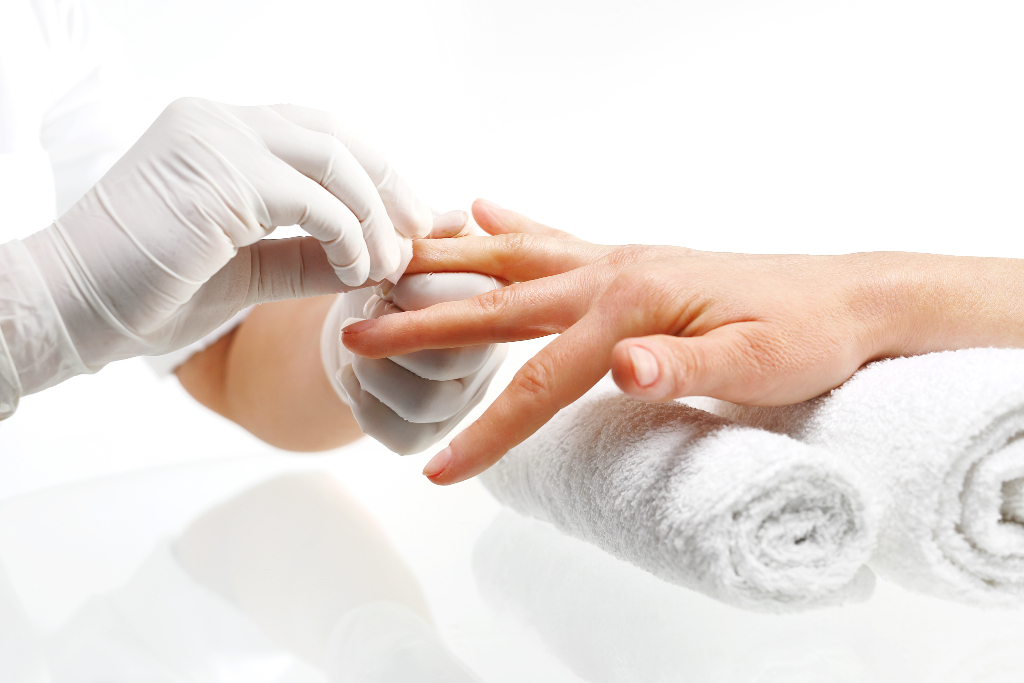
Now, you are ready to remove the cotton balls. Next, you’ll use a cuticle pusher to remove any remaining polygel. Take care not to damage your cuticles during this process.
You may need to file away any remaining polygel.
Step 4: Nail Care
Because acetone is drying to the nails, you’ll need to moisturize them once you’ve finished removing the polygel. The best option is cuticle oil, but any lotion or body oil will work.
Using Oil and Soap
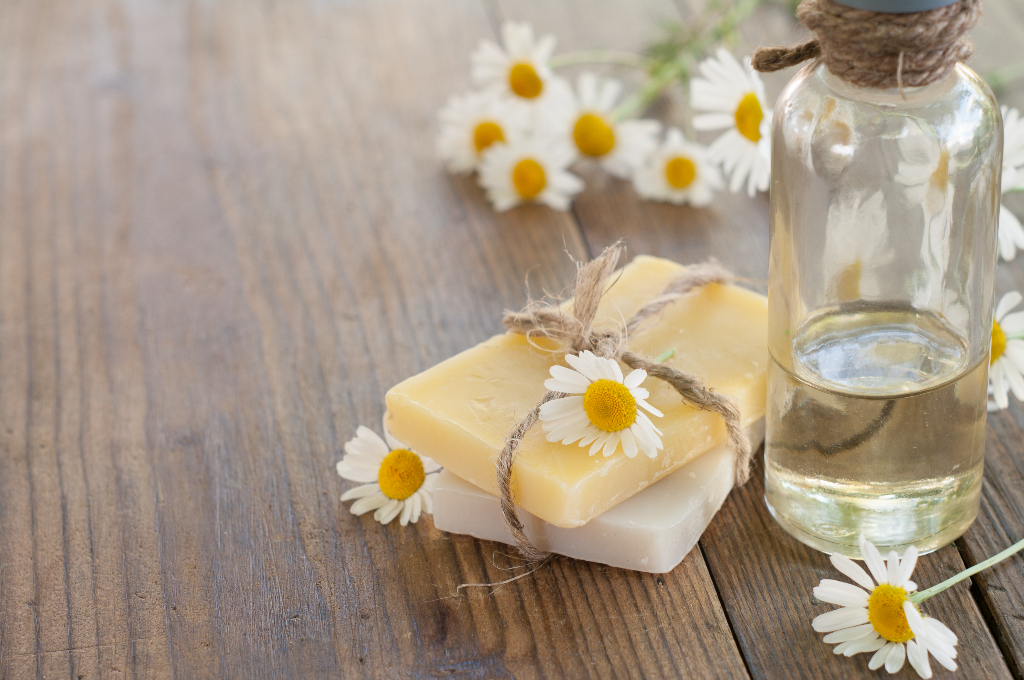
Using oil and soap to remove polygel nails is a bit time consuming. Hoewver, it won’t damage your nails, and you don’t have to worry about using chemicals like acetone.
Another advantage is that you surely have some type of oil and soap in your home, so you won’t have to rush to the store to remove the polygel.
Step 1: Prepare Your Nails
First, remove any extra length from your nails. Next, push the sides of the polygel with a cuticle tool. This loosens the polygel, so the solution can get underneath it.
Step 2: Mix Your Ingredients
Coconut oil is the most popular choice, but you can also use regular cooking oil. Add in some soap and water, and blend it all together.
Step 3: Soak
Now, you’ll need to soak your nails in the solution. Allow them to soak in the mixture for at least 15 minutes.
Step 4: Remove the Polygel
Next, you can remove the polygel. It should come off easily with a cuticle tool. If it doesn’t repeat step 3. Don’t try to pry or force the polygel away from your nail, because this can cause damage.
Using an E-File
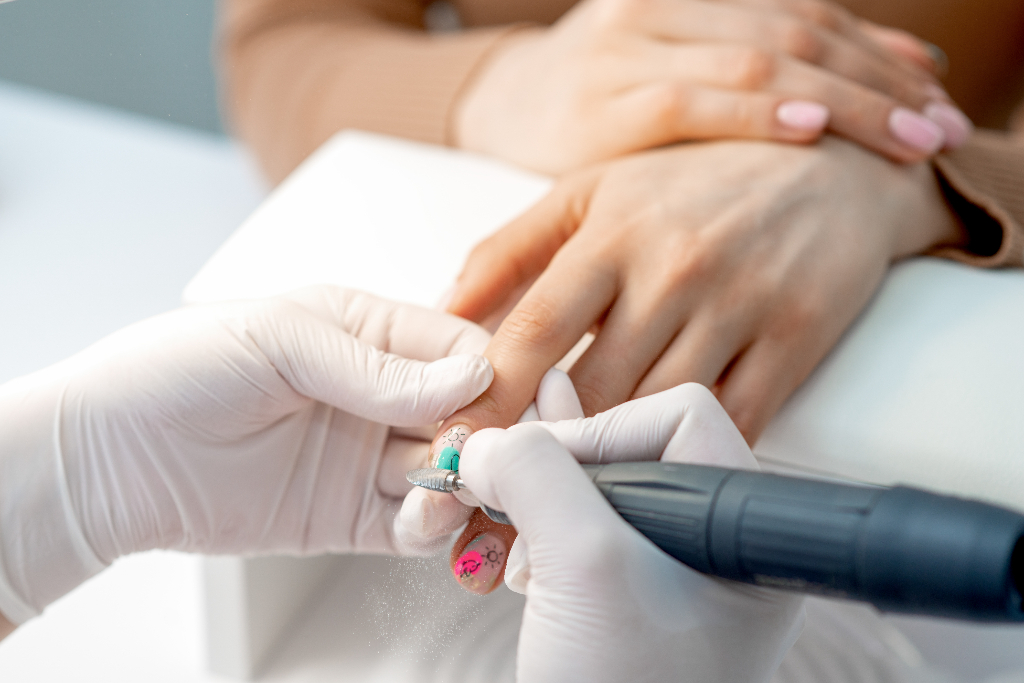
If you get polygel nails on a regular basis, you should consider purchasing an e file if you don’t already have one. This electric file will quickly remove polygel.
Step 1: Trim Nails
You’ll want to start by trimming away any extra length. This prevents your nails from breaking during the process.
Step 2: Removing the Polygel
Use the e-file on a low speed. File the polygel away. You’l need to stop when you reach your natural nail, or when you have a very thin layer of polygel.
Step 3: Finishing Removal
Next, use a regular file or nail buffer to remove any remaining polygel. This prevents the e-file from damaging your nails.
Step 4: Nail Care
An e-file won’t dry your nails like acetone, but a moisturize is still a good idea. You can use cuticle oil or lotion. This will also help to remove any remaining residue from the filing process.
Using a Regular Nail File
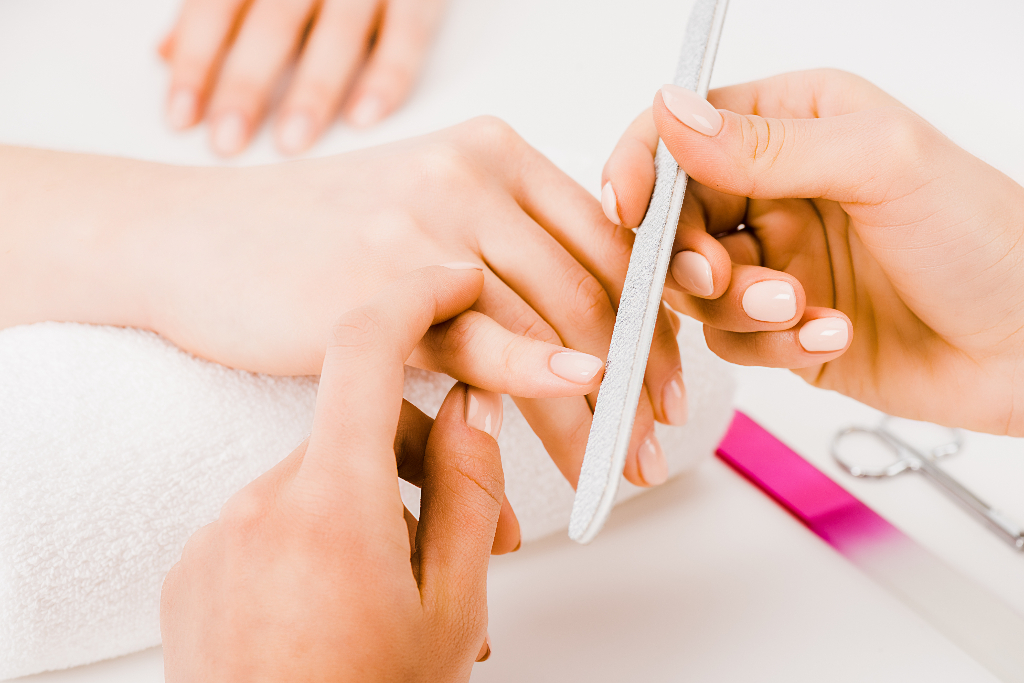
If you don’t have acetone or an e-file on hand, you can remove polygel with a regular nail file. It’s also gentle on your nail.
Step 1: Trim the Nail
First, remove any extra length by trimming your nail.
Step 2: Begin Filing
Start filing with a coarse file, preferably 100 or 120 grit. Use a gentle filing motion to remove the polygel. Don’t go all the way to your regular nail. Insetad, stop when there’s a thin layer of polygel left. This allows you to avoid damaging your nail.
Step 3: Finishing Filing
Now, you can use a gentle file or buffer to remove any remaining polygel.
Summing It All Up
Now you know how to remove polygel nails. Any of the above methods are effective.
Keep in mind that trimming your nails before removing the gel will help prevent damage. Remember to moisturize your nails after you have removed the polygel.
Don’t attempt to force the polygel away from your nail. Instead, use a gentle hand and a little patience. Removing polygel isn’t difficult, once you know the correct methods.