
So, you want to curl your eyelash extensions? Well, you’re in luck! Curling your eyelash extensions is actually pretty easy – and we’ll show you how. But first, let’s look at some of the reasons you might want to curl your eyelash extensions.
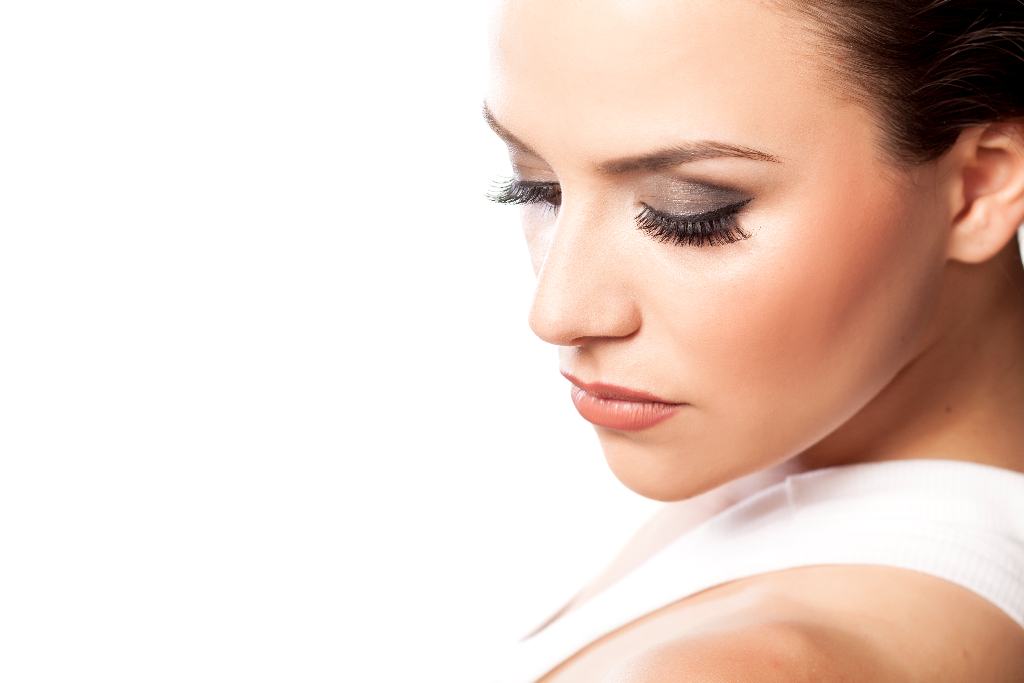
There are a few reasons you might want to curl your eyelash extensions. One of the common basis is that it can give your eyes a more open and awake look. This practice can also add some extra definition to your lashes and complement the shape of your eyes.
Overall, curling your eyelash extensions can give you a more polished and put-together look. It cannot only provide you with satisfaction in the way you want your eyes to appear, but it will also make your overall appearance glamorous.
Now that we’ve looked at why you might want to curl your eyelash extensions let’s get into how to do it.
What kind of eyelash extensions do you have?
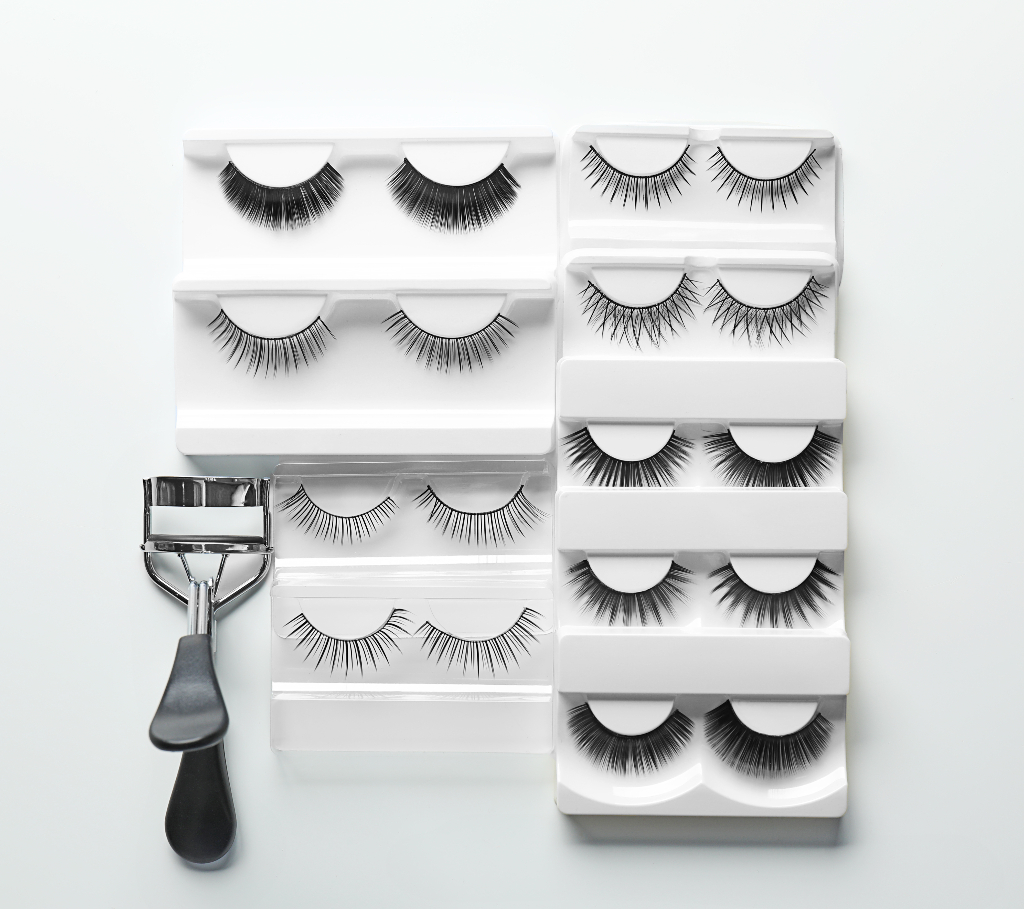
The kind of eyelash extensions you have will directly affect how you should go about curling them.
For example, If you have mink eyelash extensions, you’ll want to take extra care when curling them. This is because mink lashes are made of natural fibers, which means they’re more delicate than other types of eyelash extensions.
You’ll also want to be careful if you have synthetic eyelash extensions. These lashes are made of plastic, which means they can be more prone to heat damage.
If you’re not sure what kind of eyelash extensions you have, your best bet is to ask your lash artist or the place where you got your lashes done.
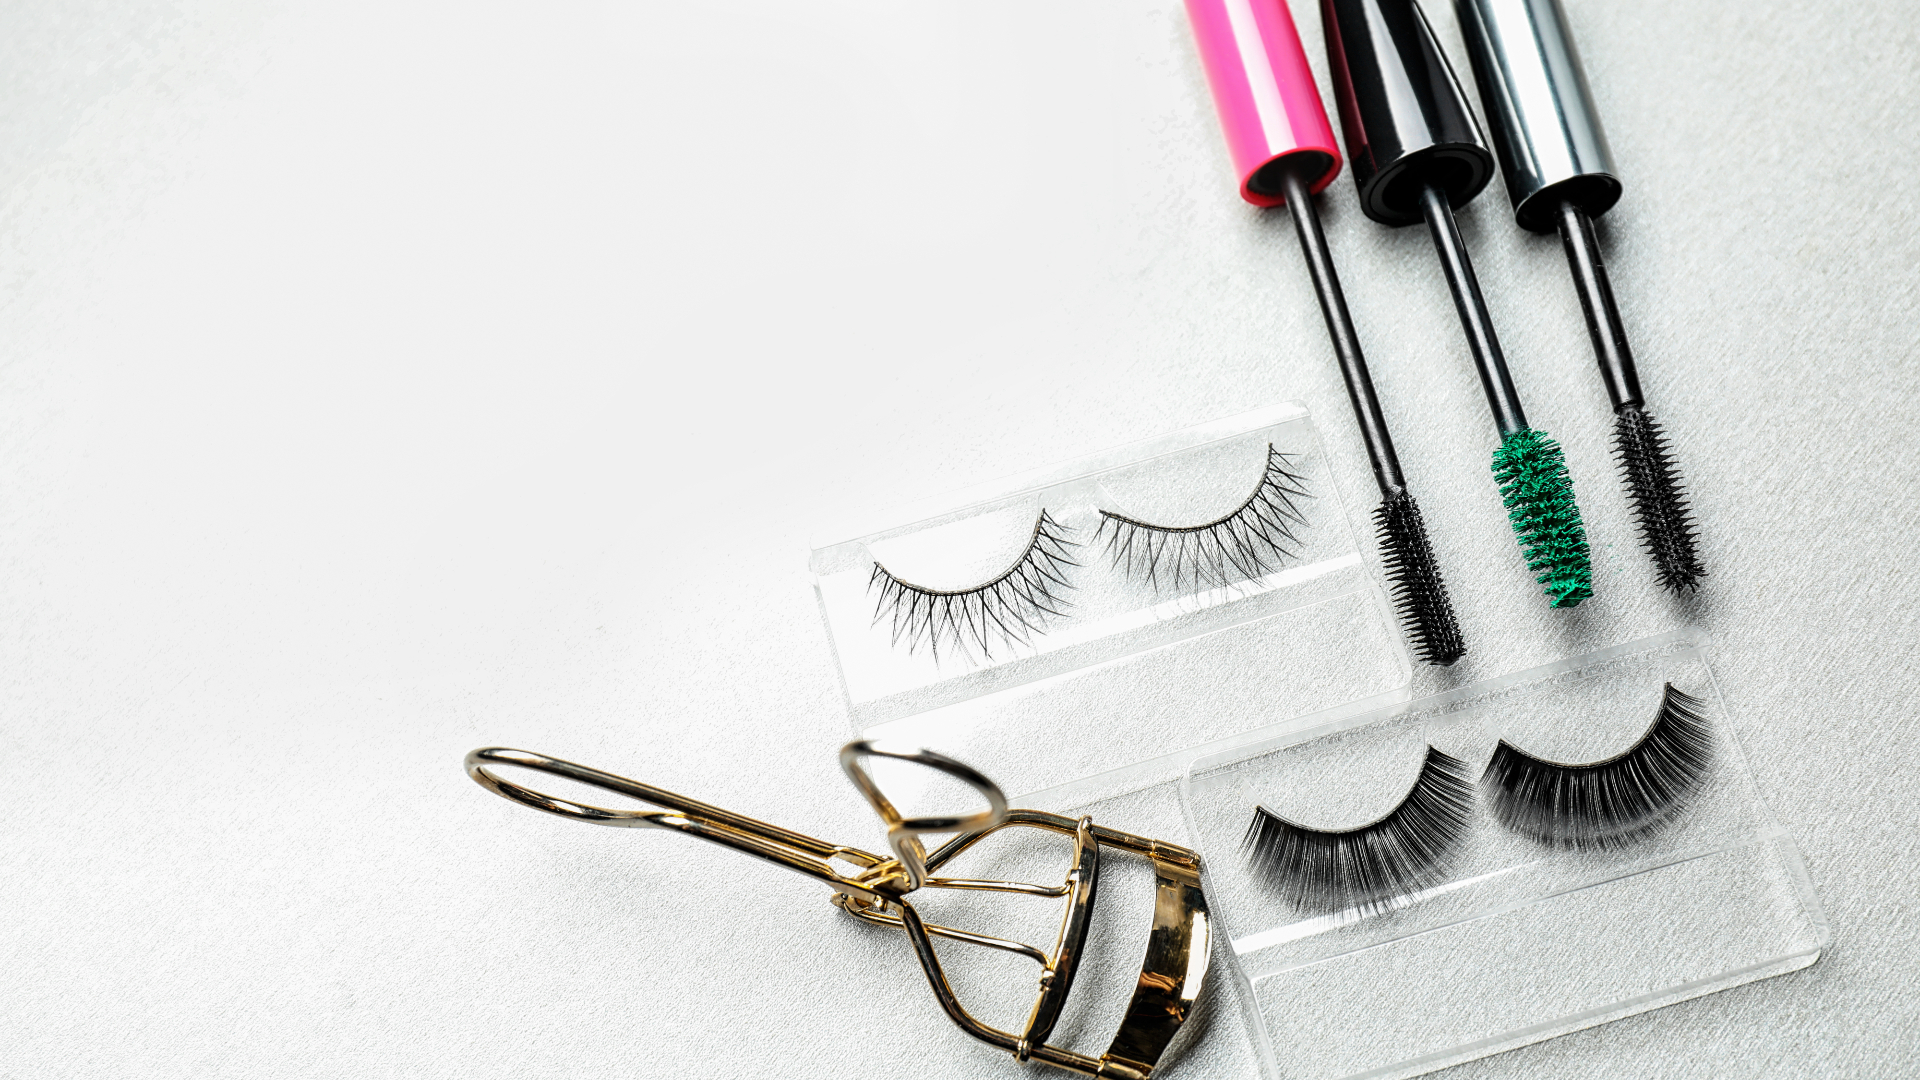
The tools you’ll need
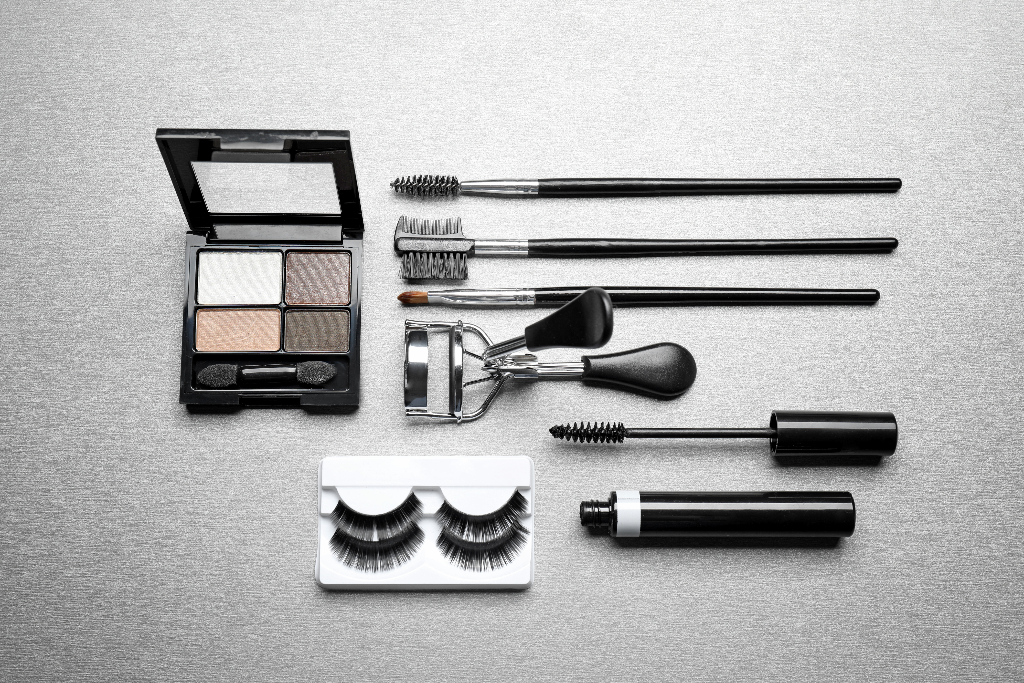
The good news is that you probably already have everything you need to curl your eyelash extensions at home.
All you’ll need is a:
- Clean mascara wand
- Lash curler
- Spoolie brush
- Q-tip
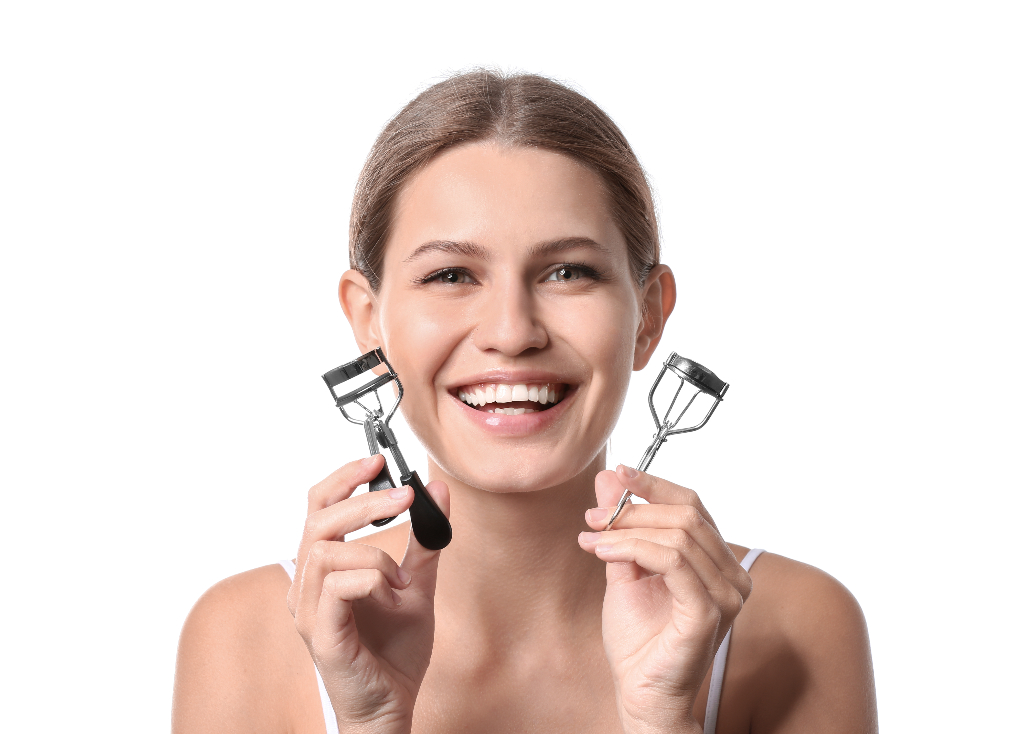
Please note that if you have a heated lash curler, you’ll want to avoid using it on your eyelash extensions. The heat can damage the lashes and cause them to fall out prematurely.
How to curl your eyelash extensions
Now that you have everything you need, it’s time to curl your eyelash extensions!
Step one: Clean your lashes
The first step is to make sure your lashes are clean before you start curling them.
If you have any makeup or residue on your lashes, it can prevent the curler from getting a good grip on the lashes – which means your curls won’t last as long.
So, before you start curling your eyelash extensions, use a clean mascara wand or a spoolie brush to remove any dirt or debris from your lashes.
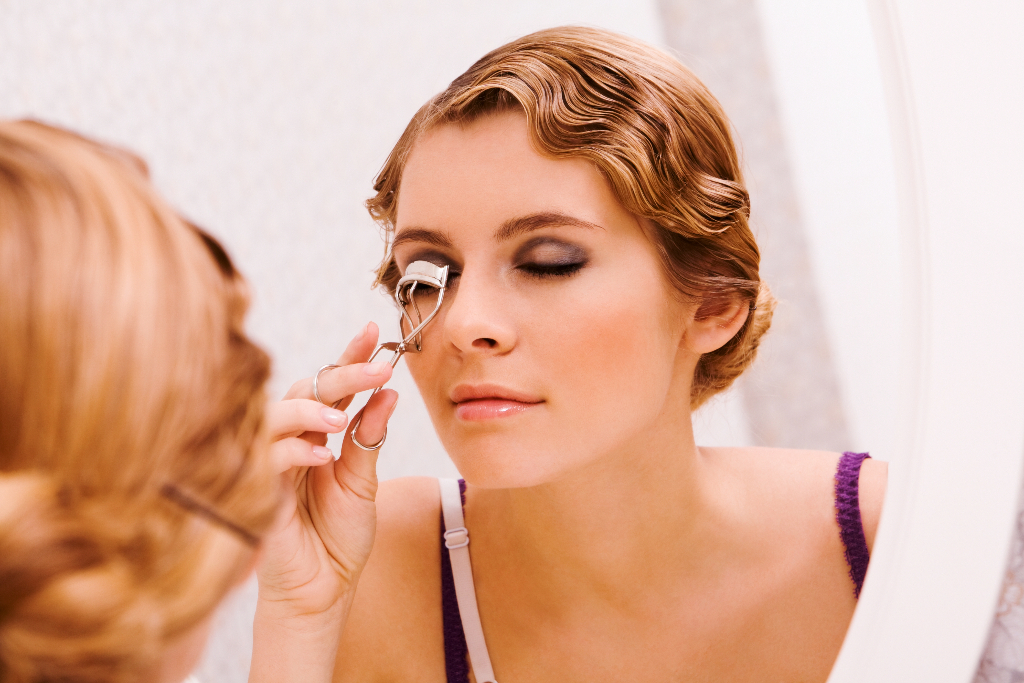
Step two: Open your lash curler
Next, open your lash curler and place it at the base of your lashes. Take care not to pinch your skin while you’re doing this.
Step three: Squeeze and hold
Once the curler is in place, gently squeeze it shut and hold it for 10 to 15 seconds.
If you have mink or synthetic lashes, you might want to hold the curler in place for a little less time, as this type of extension is more delicate than synthetic extensions.
You’ll want to be careful not to squeeze too hard, as this can damage your lashes.
Step four: Release and repeat
Once you’ve held the curler in place for 10 to 15 seconds, gently release it and move it up your lashes a bit. Squeeze and hold again for 10 to 15 seconds.
Repeat this process until you’ve curled all of your eyelash extensions.
And, you’re done! Curling your eyelash extensions is really that easy.
Just remember to take care not to damage your lashes in the process. If you’re gentle and use the right tools, you’ll have no problem creating beautiful, long-lasting curls.
Alternative methods for curling eyelash extensions

If you don’t have a lash curler on hand, or if you’re looking for a more gentle way to curl your eyelash extensions, there are a few alternative methods you can try.
For example, you can use a clean mascara wand to help add some curl to your lashes. Simply place the wand at the base of your lashes and gently curl them up.
You can also try using a q-tip to help curl your eyelash extensions. Just wrap the q-tip around your lash curler, and then place it at the base of your lashes. Squeeze and hold for 10 to 15 seconds before releasing.
No matter what method you use, be sure to take care not to damage your lashes in the process.
If you’re gentle and use the right tools, you’ll have no problem creating beautiful, long-lasting curls.
How to achieve different lash curls
Now that you know how to curl your eyelash extensions, you might be wondering how to achieve different lash curls.
Here are a few tips:
- For a natural-looking curl, simply curl your lashes as usual.
- For a more dramatic look, try curling your lashes twice – once at the base and once in the middle. To achieve an even more dramatic look, try curling your lashes three times – once at the base, once in the middle, and once at the tips.
Remember, no matter what type of curl you’re going for, be sure to take care not to damage your lashes in the process.
If you’re gentle and use the right tools, you’ll have no problem creating beautiful, long-lasting curls.
Tips for curling eyelash extensions
Now that you know how to curl your eyelash extensions, here are a few tips to help you get the best results:
- Be gentle. This is the most important tip when it comes to curling your eyelash extensions. Remember, your lashes are delicate, so you’ll want to take care not to damage them.
- Start at the base. When you’re curling your eyelash extensions, be sure to start at the base of the lashes. This will help ensure that all of your lashes are evenly curled.
- Use a spoolie brush. A spoolie brush can help separate your lashes and prevent them from sticking together. This will make it easier to curl your eyelash extensions and help you achieve more defined curls.
- Use a heat-free curler. If you have a heated lash curler, you’ll want to avoid using it on your eyelash extensions. The heat can damage the lashes and cause them to fall out prematurely.
Conclusion
If you follow these tips, you’ll be able to curl your eyelash extensions like a pro! Just remember to take your time and be gentle, and you’ll have no problem creating beautiful, long-lasting curls.